If you want to create a new website, you don't have to immediately register a domain name and buy a website hosting plan.
1) You might change your plan later and find that the domain name not suitable to your content.
2) You can complete the website development and release to live server after fill up with substantial contents.
3) You can show to your customers from your PC how the website works without connection to Internet and etc.
Assuming you already have XAMPP (if not, you can find the installation guide here), you can easily install Joomla to your local Windows PC and develop your website before release to internet. Here, I am using Joomla 3.1.5 as example. You can actually install Wordpress, Drupal and many types of PHP/MySQL related program with the same steps. Remember to turn on XAMPP on your PC.
Go to Joomla website to get the latest version of Joomla CMS. Select Download button. The current version is 3.1.5 as of this point.
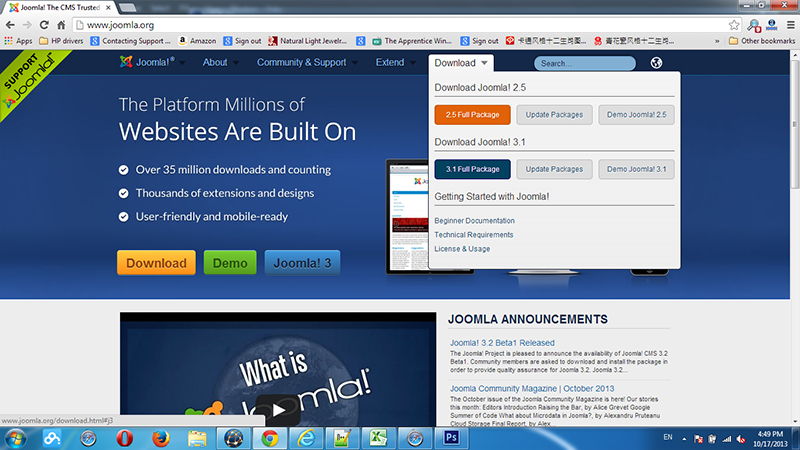
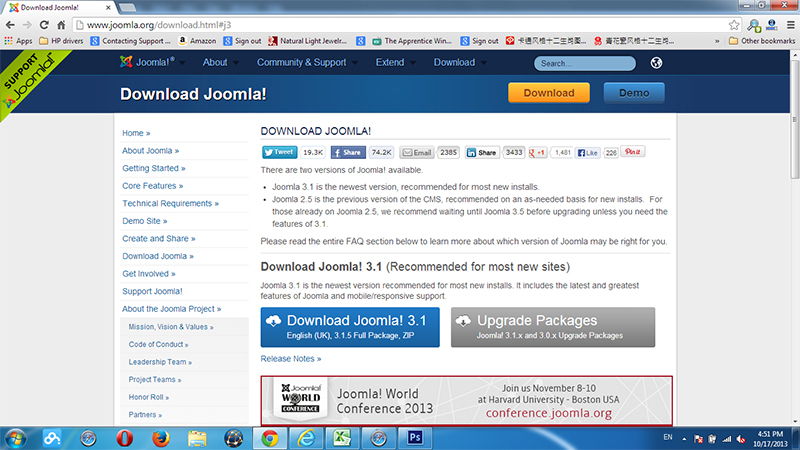
Click on "Download Joomla! 3.1" button.
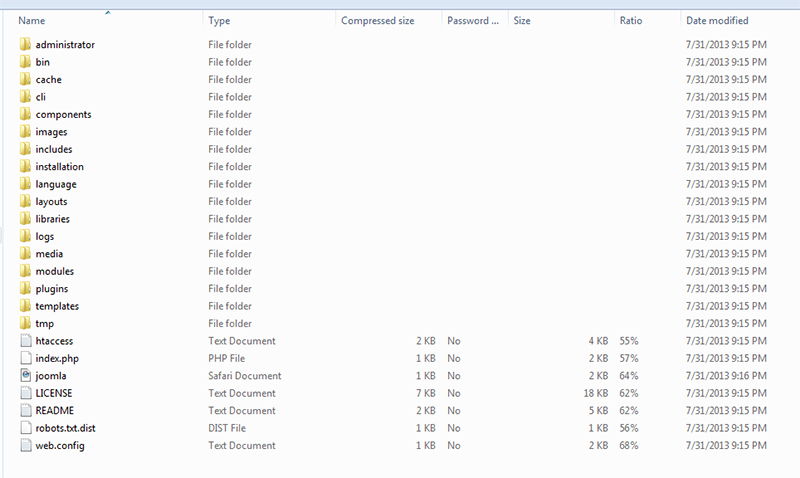
After download to your local PC, the content of Joomla zip file looks like this:
Before installation, we need to create a local database with MySQL under XAMPP. Open your browser and enter URL http://localhost/phpmyadmin
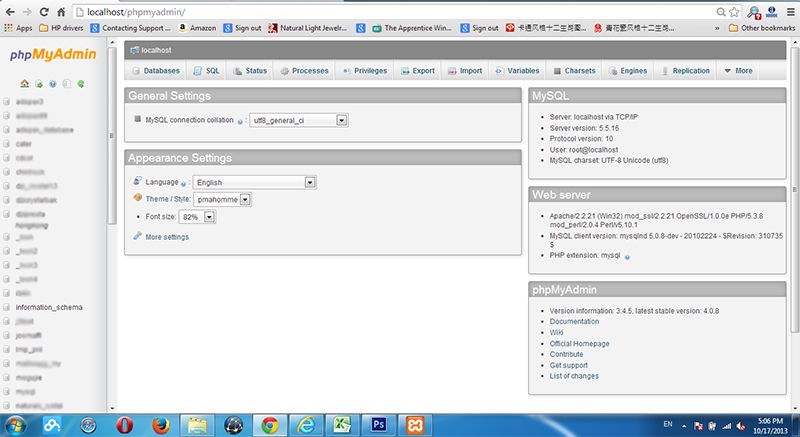
Click on the "Databases" button and create a database. Here, I name the database "joomla3". Click "Create".
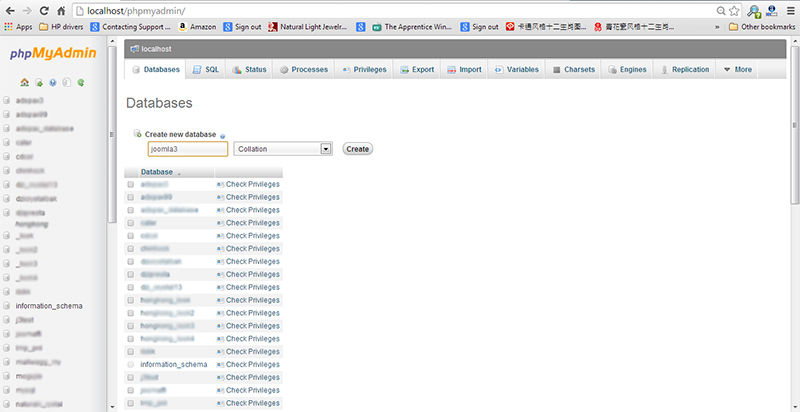
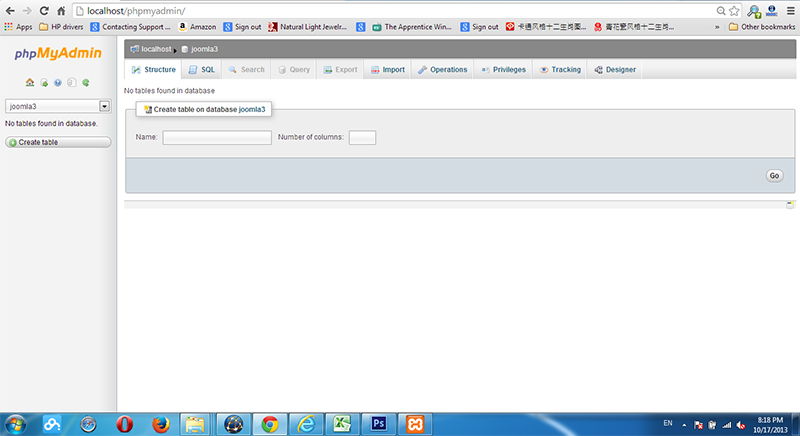
You will see the new database "joomla3" listed at the left vertical menu. Click on it and you will be able to see the newly created empty database. You will see tables and some data created after installation process.
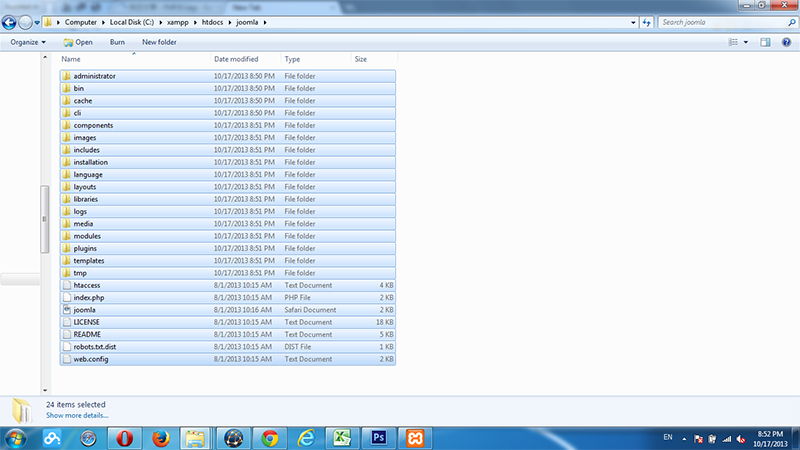
Now, go to local file folder and create a new folder call "joomla" (C:\xampp\htdocs\joomla) and unzip Joomla compressed file to this folder.
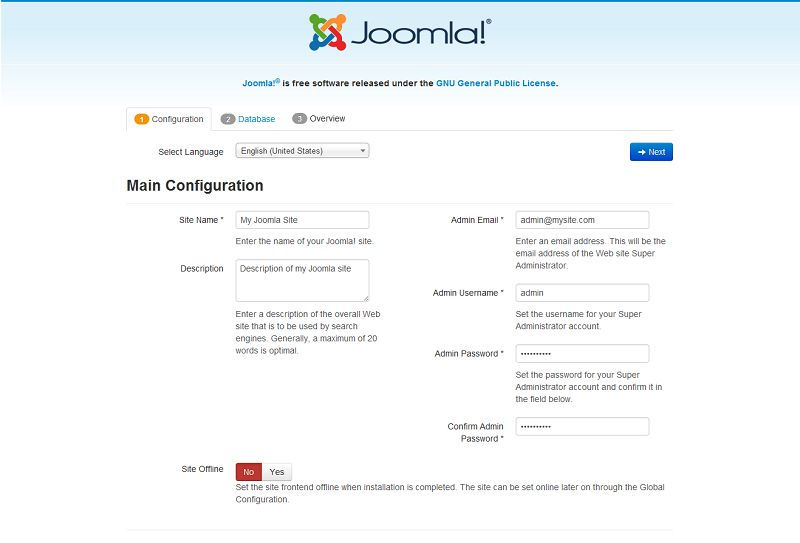
To install Joomla, type URL "http://localhost/joomla" at browser to activate installation process. You will see the first page below. Enter the fields with *. These steps are the same as installation process on live server. Username and password will be used to enter Joomla backend. Click "Next" when finish.
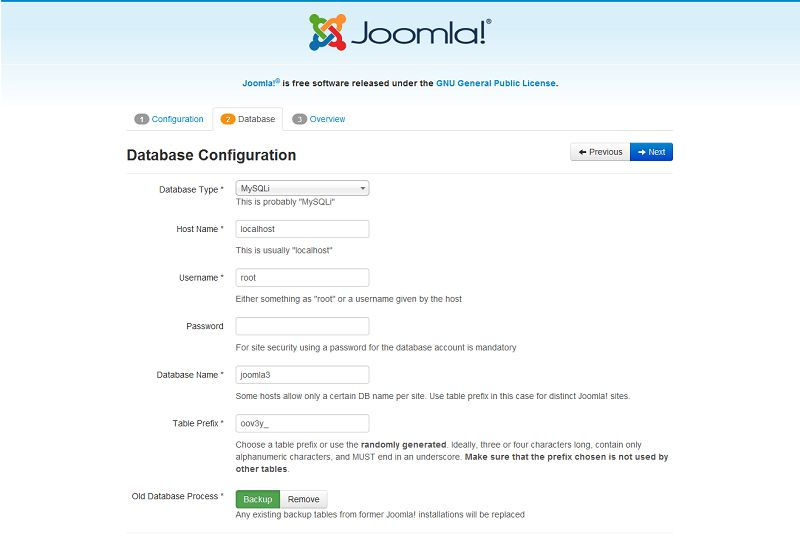
At second step, the Host Name will be "localhost", Username is "root" and no password needed for XAMPP environment. Enter the name of database we created earlier, which is "joomla3". The table prefix is generated randomly. You can change the combination if you want.
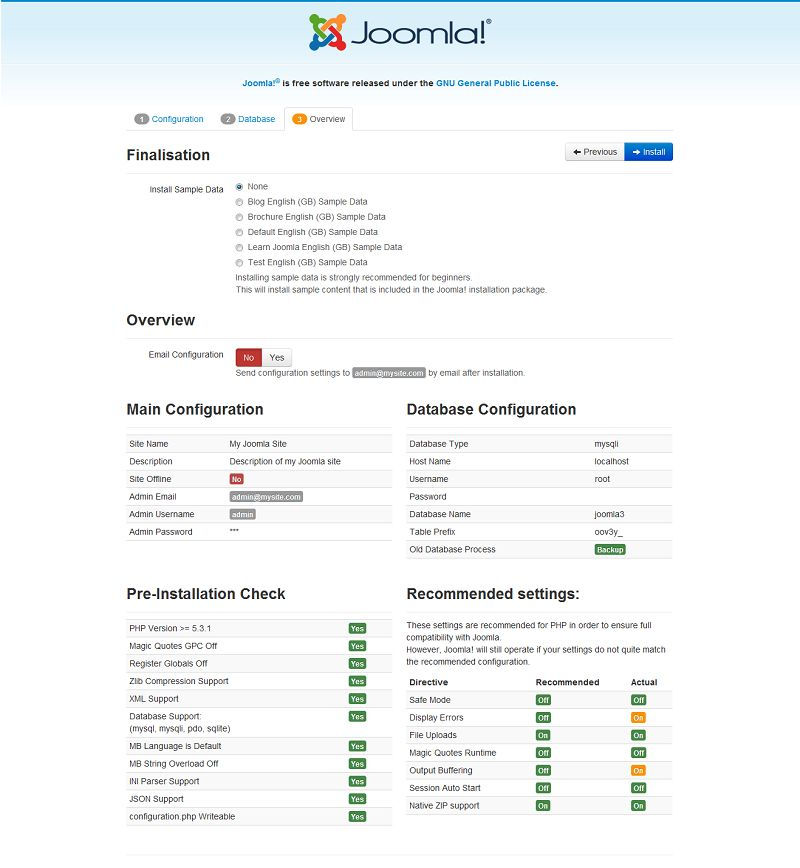
In the last step, you can choose to install sample data from various selections. If you are new to Joomla, you can install sample data to get yourself familiarize with this CMS, you might have to re-install a clean Joomla after you understand Joomla operation. In this case, I select "None" and click "Install".
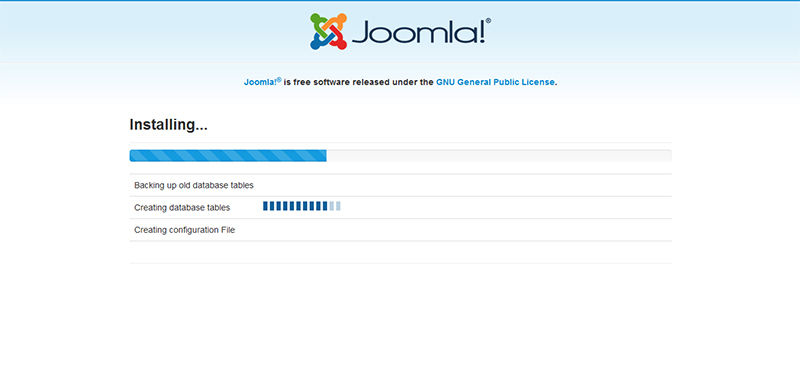
 Now, installation is in progress. Relax first.
Installation done. Click "Remove installation folder".
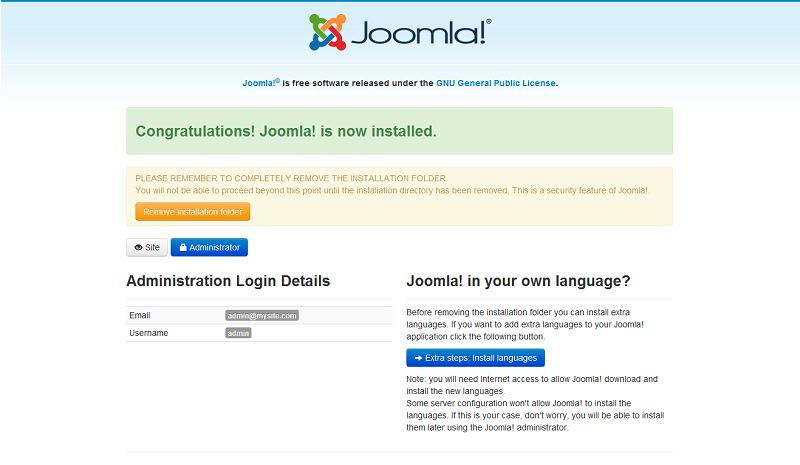
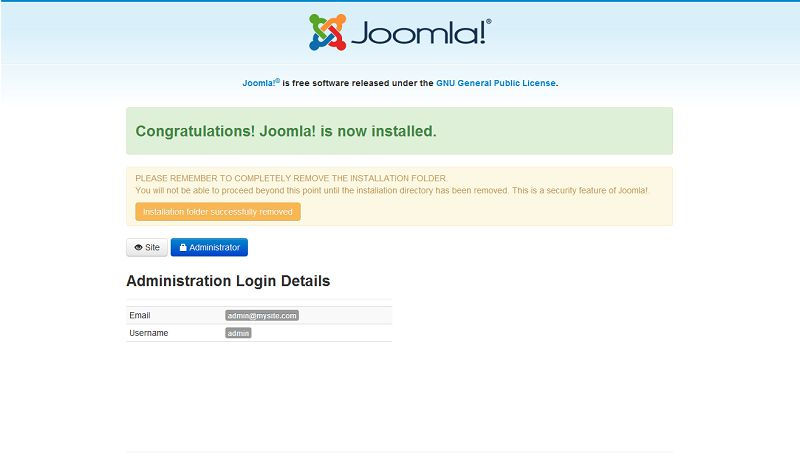
Installation folder successfully removed. Click on "Administrator" button to login to backend control panel.
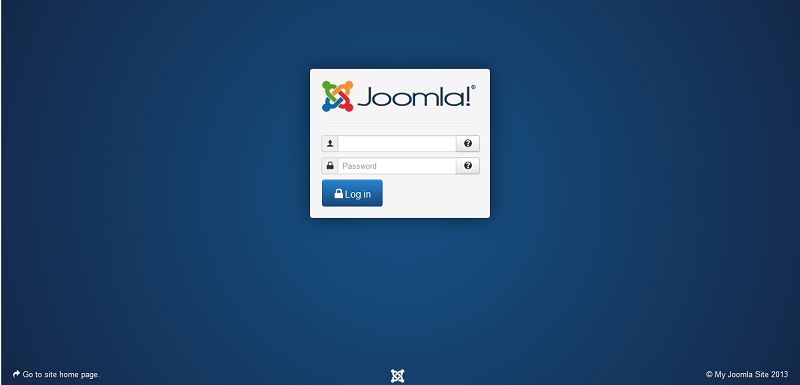
Enter the username and password you set during installation process.
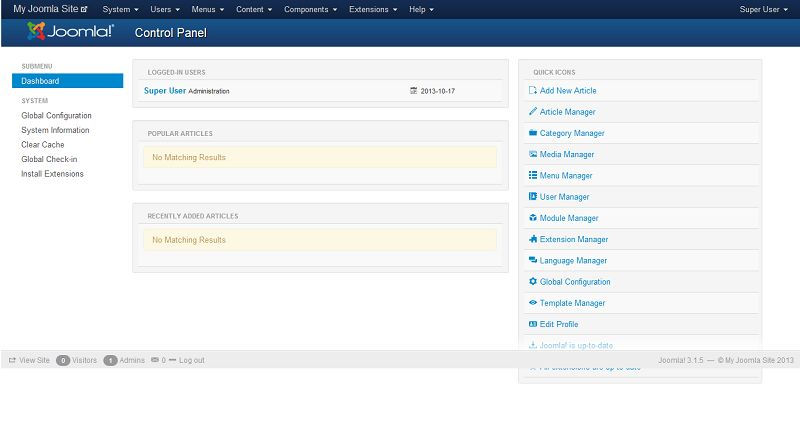
Now, we are ready to use Joomla!
