Today I look at the content of php8legs.com and realize that I have not writing in website for more than 4 years already. It was a busy four years. As Malaysia is implementing MCO (Movement Control Order) due to wide spread of Covid-19 virus, I have the chance to take sometime to discuss the topics of my interest - web scraping and auto posting.
In the articles, I want to discuss about more advanced scraping techniques such as scraping website with infinite scroll, as well as using webdriver to auto login social media websites and perform auto posting. All this can be done using Selenium. There are already so many articles on Selenium + webdrivers in Python/Java/Ruby etc. So I want to write this topic using PHP. To run Selenium with PHP under Windows 10 environment, assuming you already have XAMPP installed (with PHP 7 or above), here are the software packages required:
3. php-webdriver from github.com - installation
4. Selenium Standalone Server - download
If you already have Java and composer installed earlier, then just perform installation at step 3 and download packages at step 4 and 5.
If you have Java installed previously, just make sure it is the latest version. You can jump to Selenium Standalone Server and Chromedriver installation below.
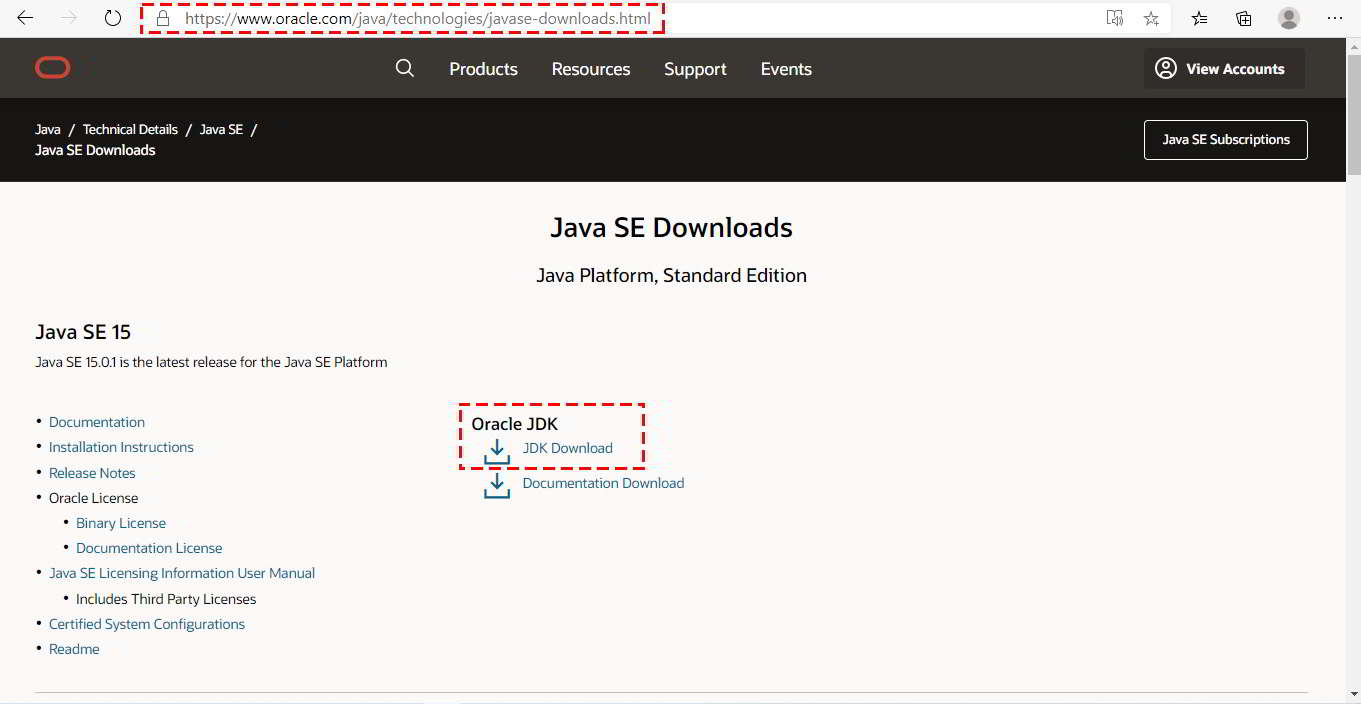
1. First, go to Oracle's web page at https://www.oracle.com/java/technologies/javase-downloads.html. Make sure it is the latest Java SE. At present the latest version is Java SE 15. Click "JDK Download".
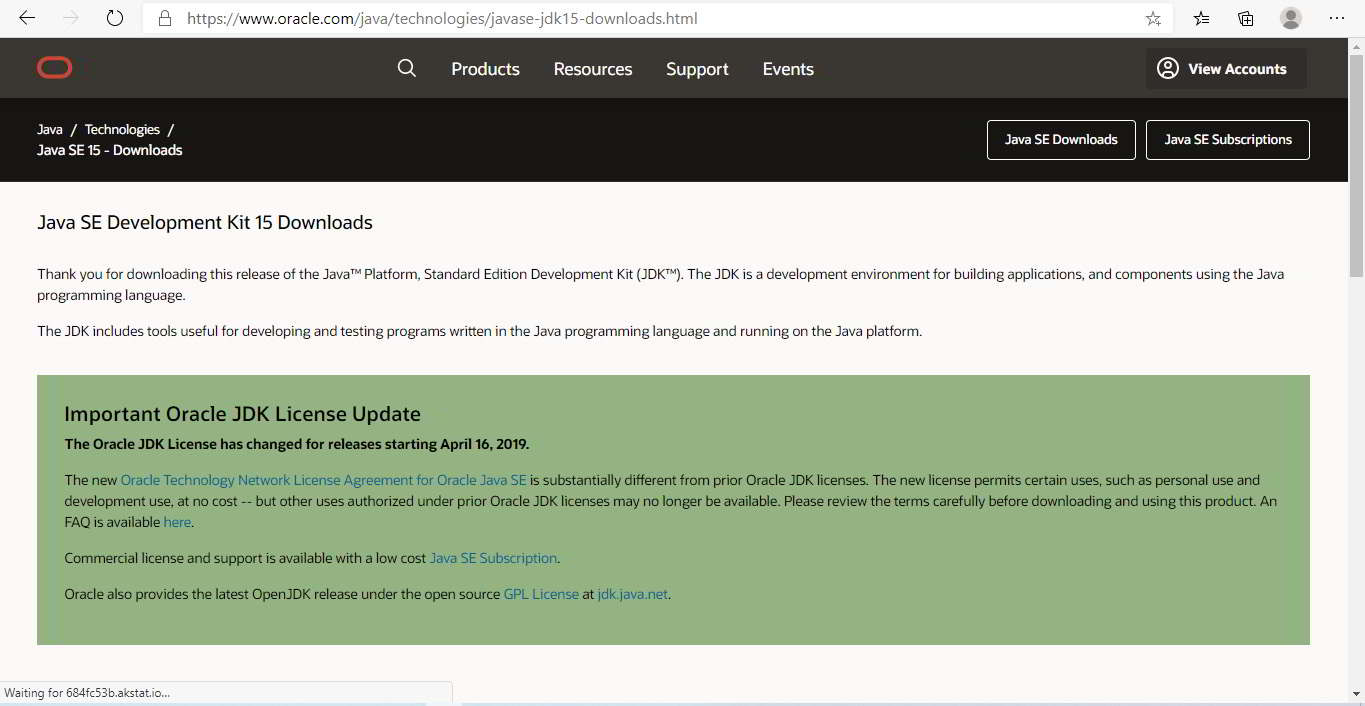
2. You will be redirected to download page. Scroll down to see download options.
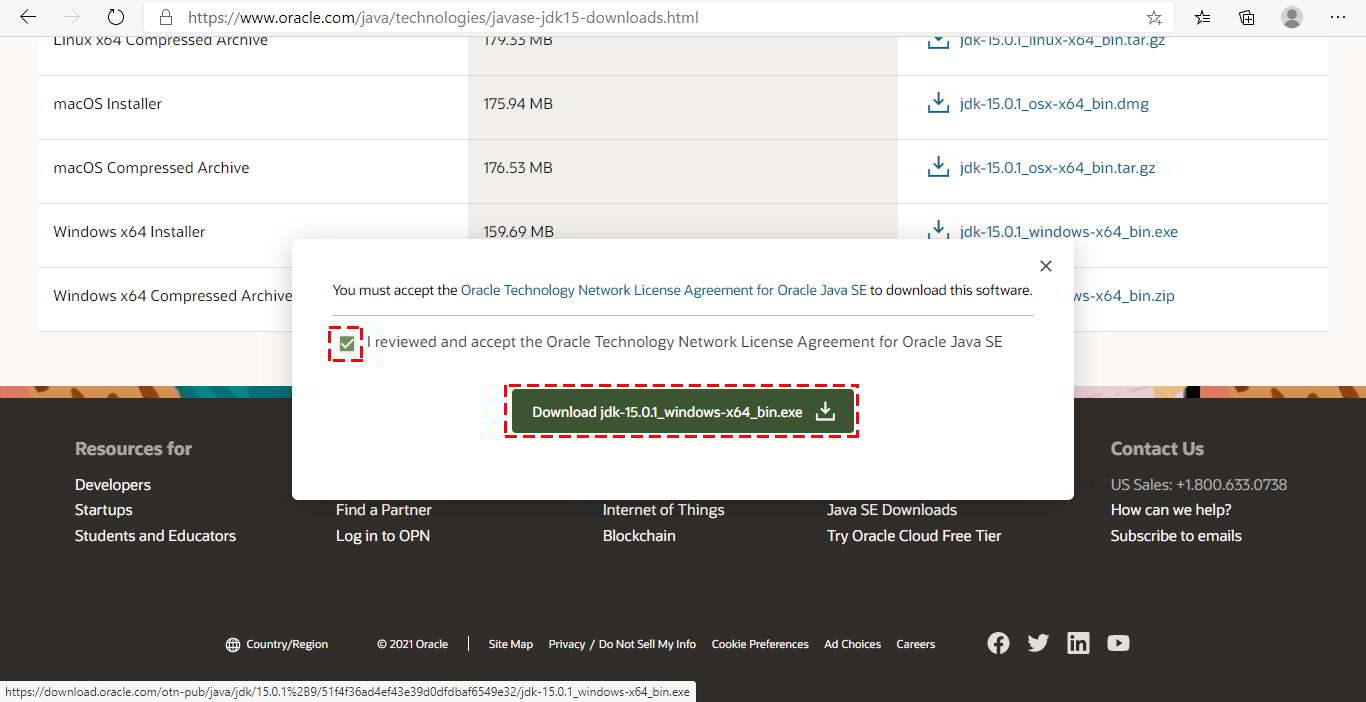
3. Install JDK according to your operating system. I am using Windows 10 64 bits. Click on reviewed and accept License Agreement then Download button.
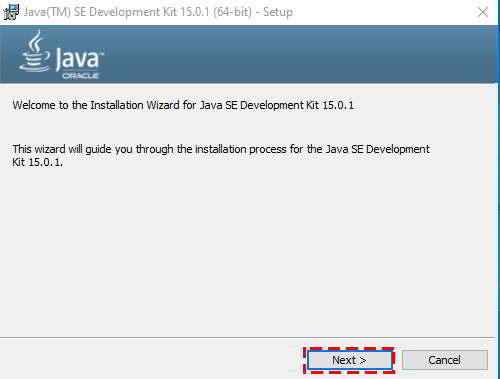
4. Installation script downloaded. Execute the file to call out installation wizard. Click "Next" button.
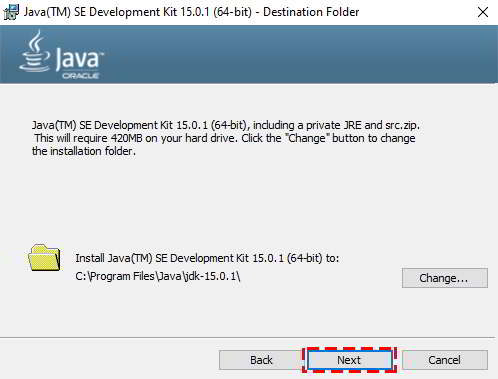
5. Click "Next" button to start installation if the path is okay with you.
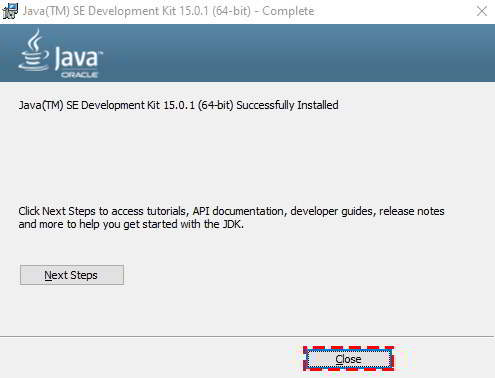
6. Wait until installation completed. Then click "Close" button.
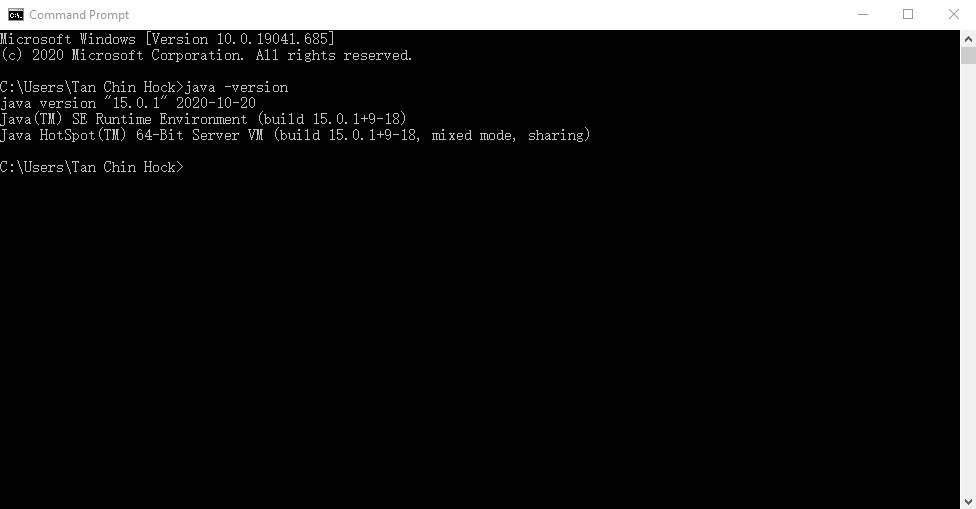
7. We can do a simple check. At Windows Command Prompt, type "java -version". We can verify Java SE version installed. If the Java version displayed, we have successfully install it, as well as enviroment variables are set correctly.
Next, we want to download composer and use it to install php-webdriver from github. If you already have composer, you can direct go to php-webdriver installation.
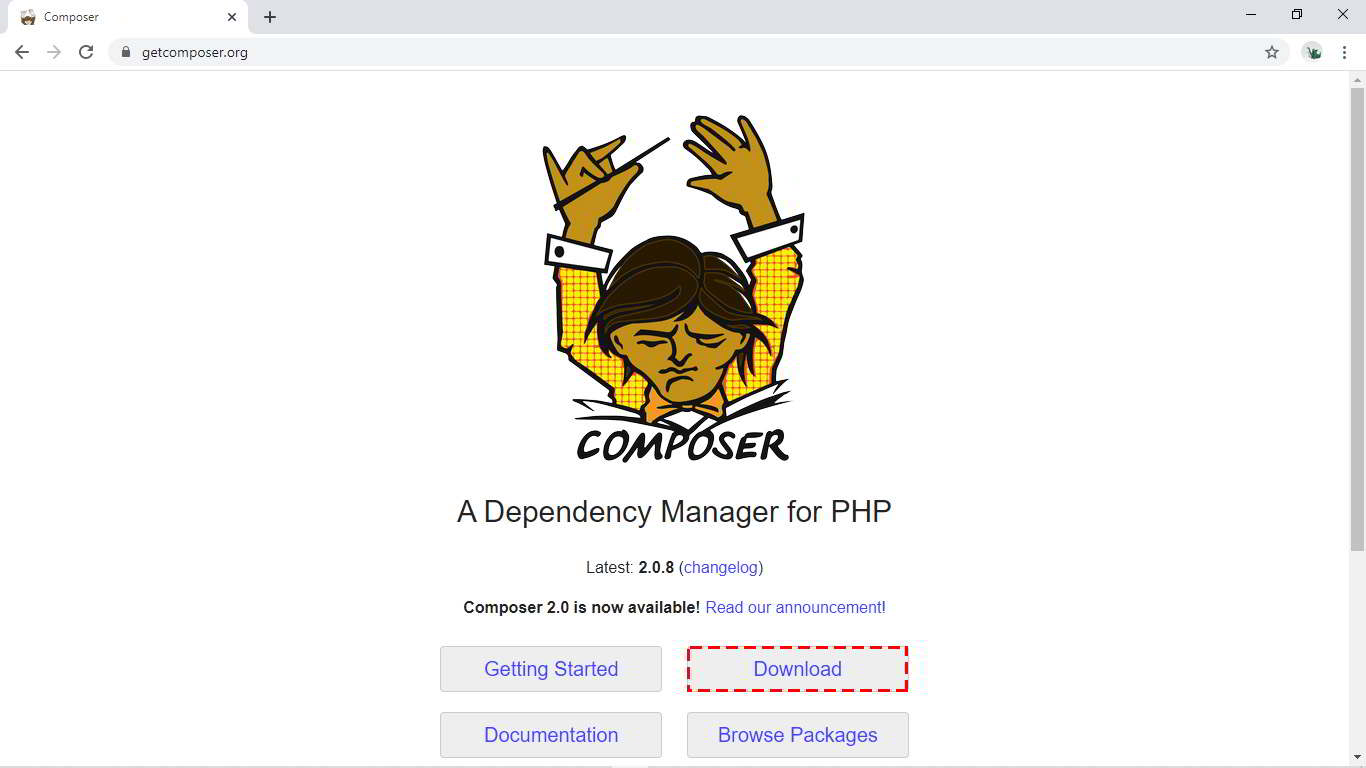
1. Go to https://getcomposer.org. Click "Download" button.
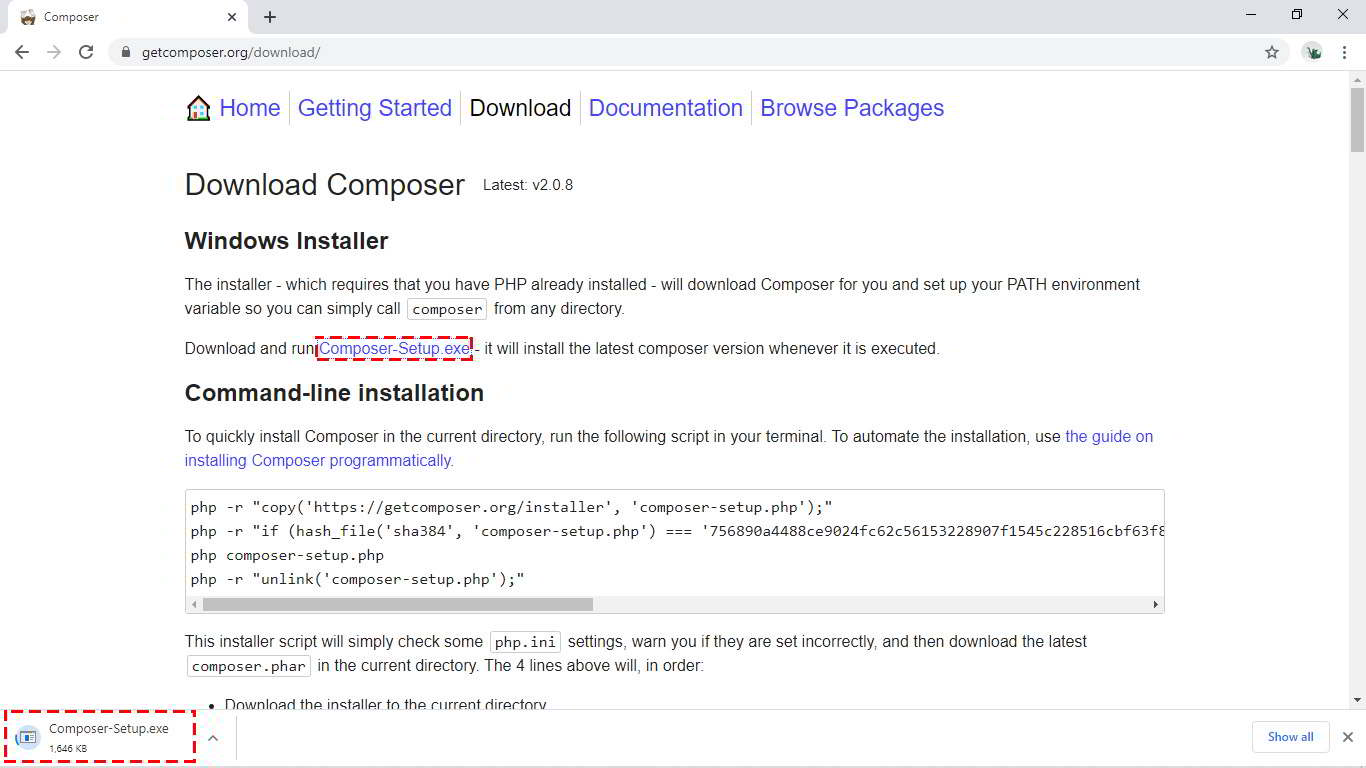
2. At download page, click "Composer-Setup.exe" to download composer installer for Windows. Click the .exe file after download completed.
3. Click "Run" to start install composer.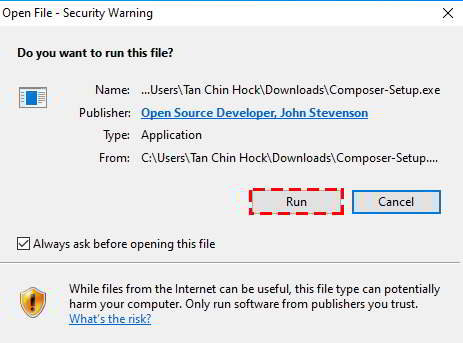
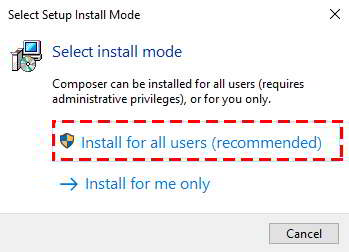
4. Select one of the installation mode. I select "Install for all users" even i am the only person using the PC.
5. Next is Composer installation options. I did not select developer mode. Just click "Next".

6. This step is important. Make sure php.exe is located in path stated. Tick "Add this PHP to your path. Then click "Next".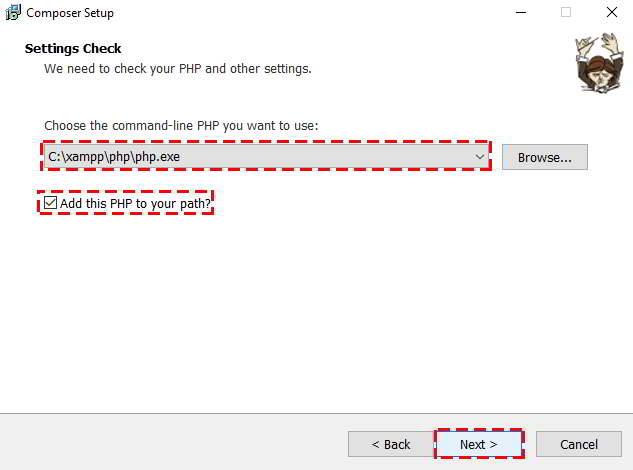
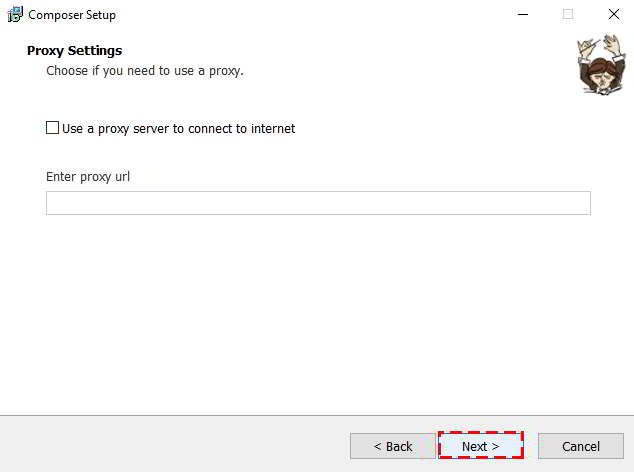
7. Enter your proxy here. I don't use proxy during Composer installation. So I just click "Next" to proceed.
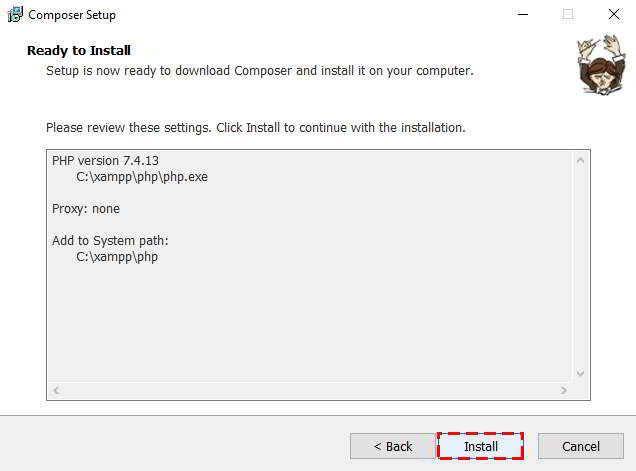
8. All the setup is ready and click "Install". Wait until the process finished.
9. Click "Next".
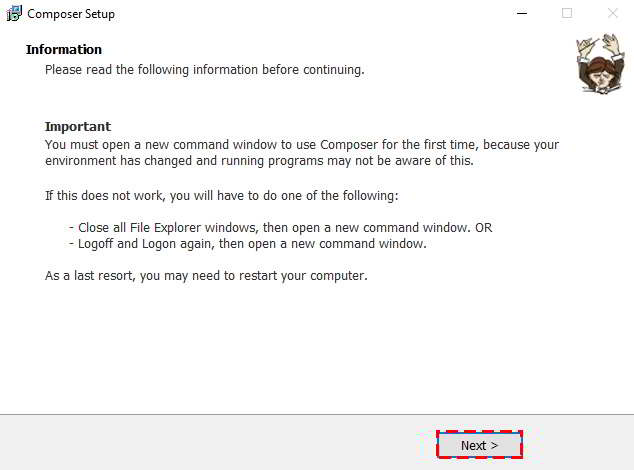
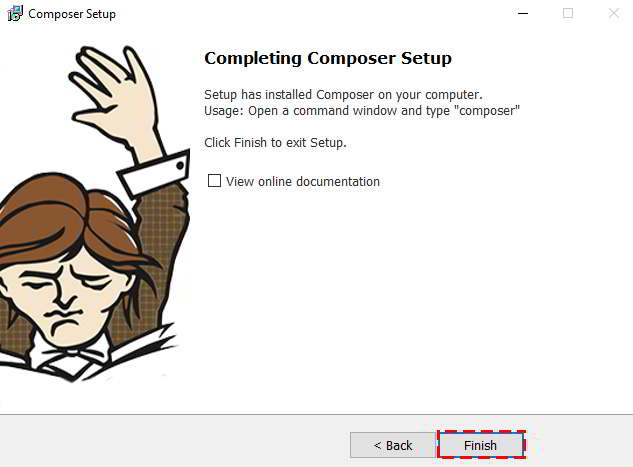
10. Click "Finish". Now we are down with Composer installation process.
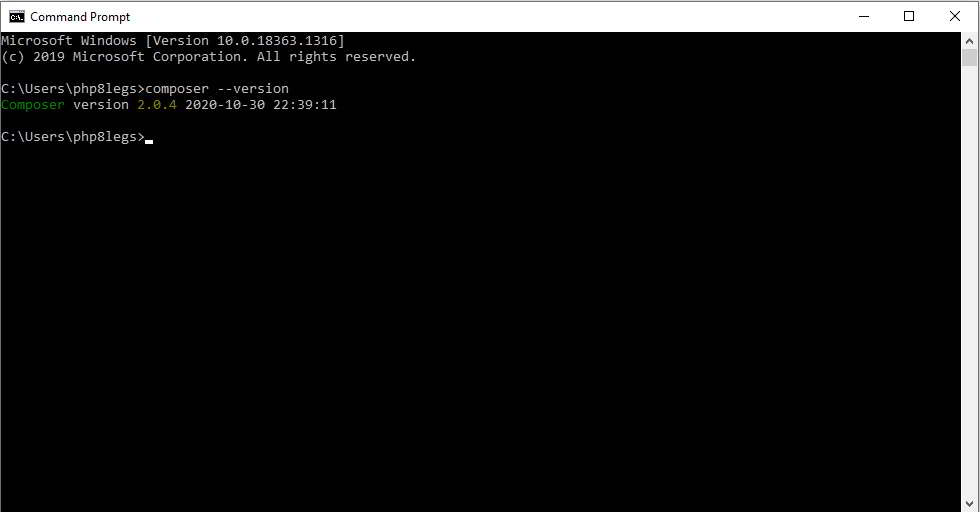
11. To make sure we have installed Composer correctly, type "composer --version" at command prompt. You should have Composer version displayed.
3. php-webdriver installation from github.com
The source code of php-webdriver is located at https://github.com/php-webdriver/php-webdriver. We will use composer to install it under xampp area.
- under C:\xampp\htdocs, create a directory called phpwebdriver.
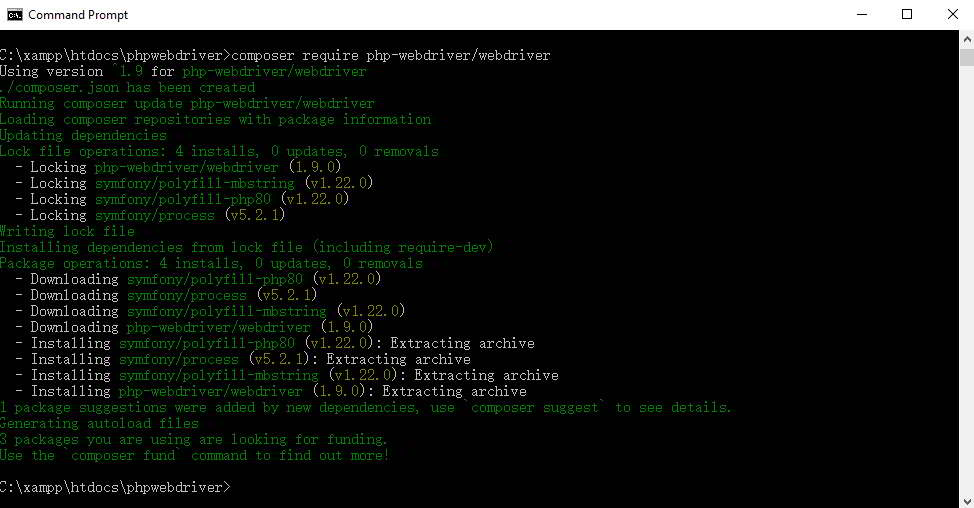
- under C:\xampp\htdocs\phpwebdriver, enter "composer require php-webdriver/webdriver". Entire package will be installed in a few seconds.
4. Selenium Standalone Server - download
- There are a few ways to download selenium, either through npm or pip. If npm, use webdriver-manager to call up Selenium in command prompt. But in this tutorial, I want to use Selenium standalone server and call selenium from php program.
- Under "C:\xampp\htdocs\phpwebdriver", create a directory "webdriver.
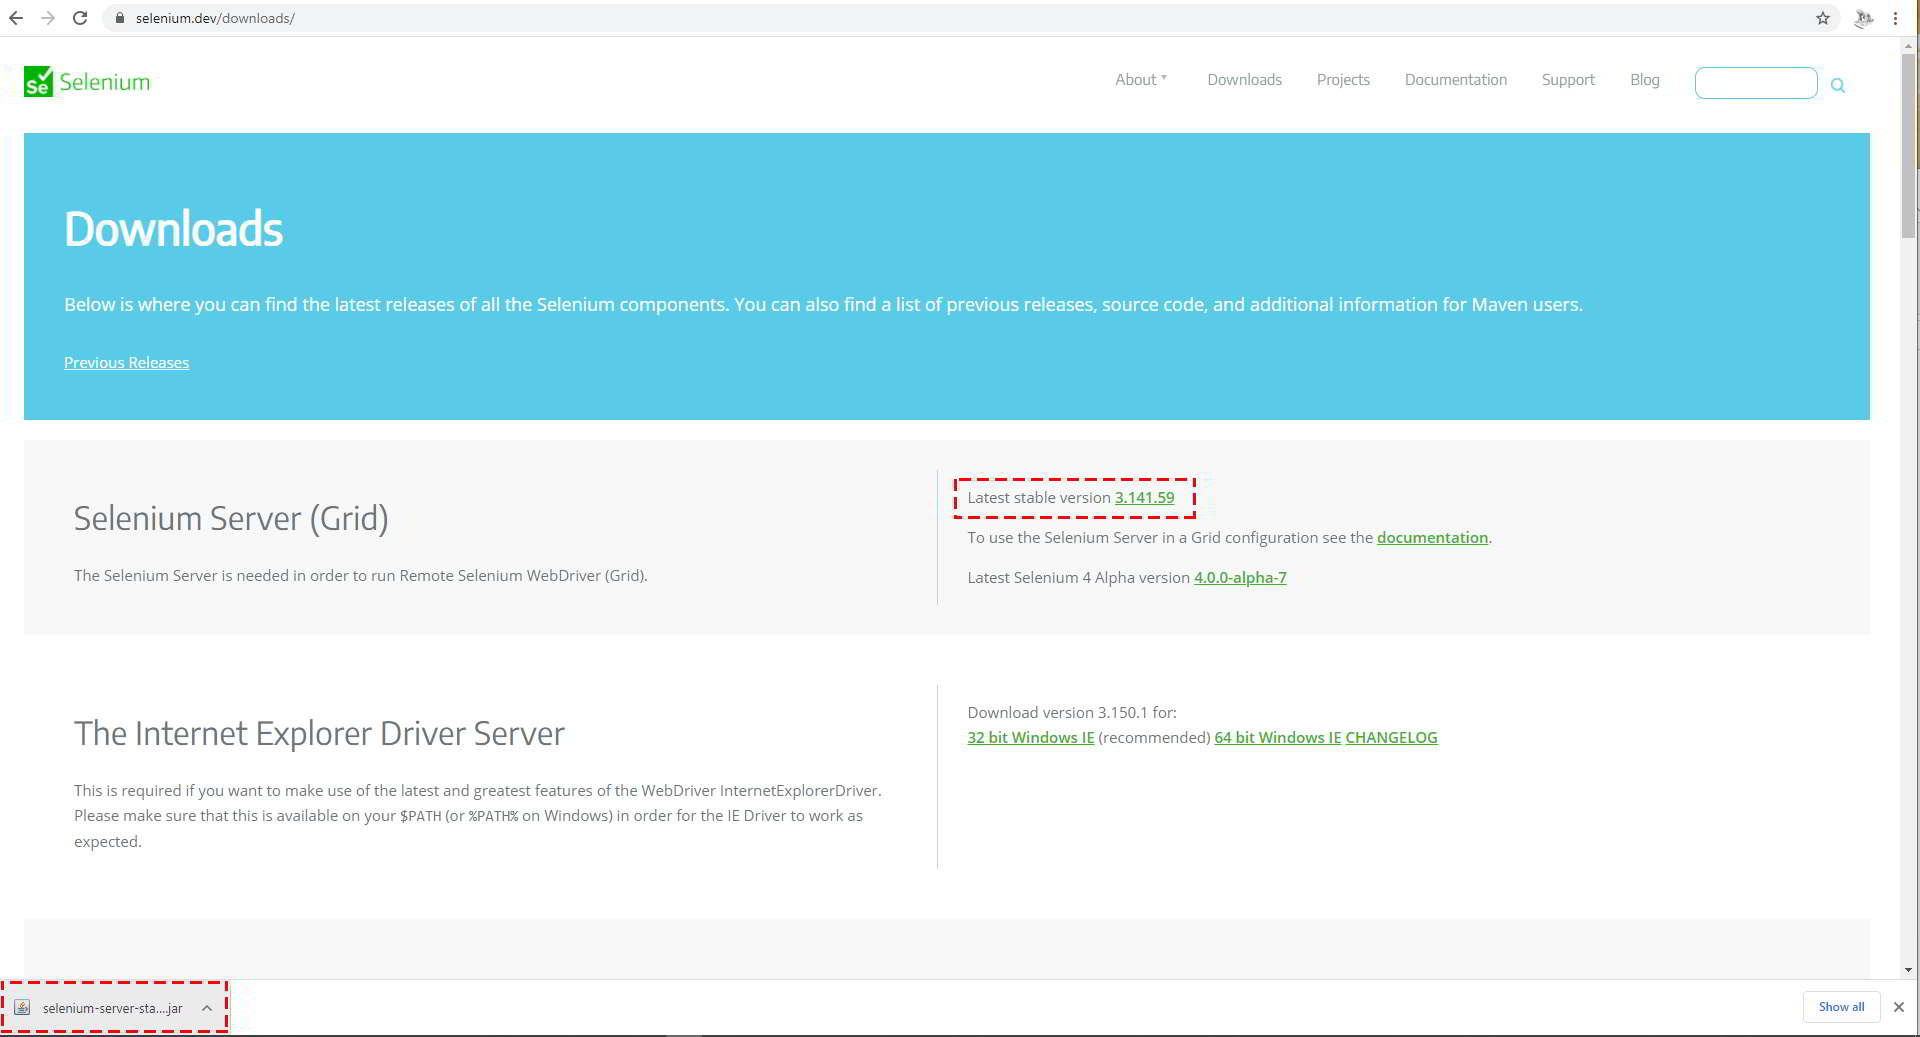
- Go to https://www.selenium.dev/downloads/ , download the latest stable version. In this example, I got "selenium-server-standalone-3.141.59.jar" file. Copy this file from download folder to "C:\xampp\htdocs\phpwebdriver\webdriver" folder.
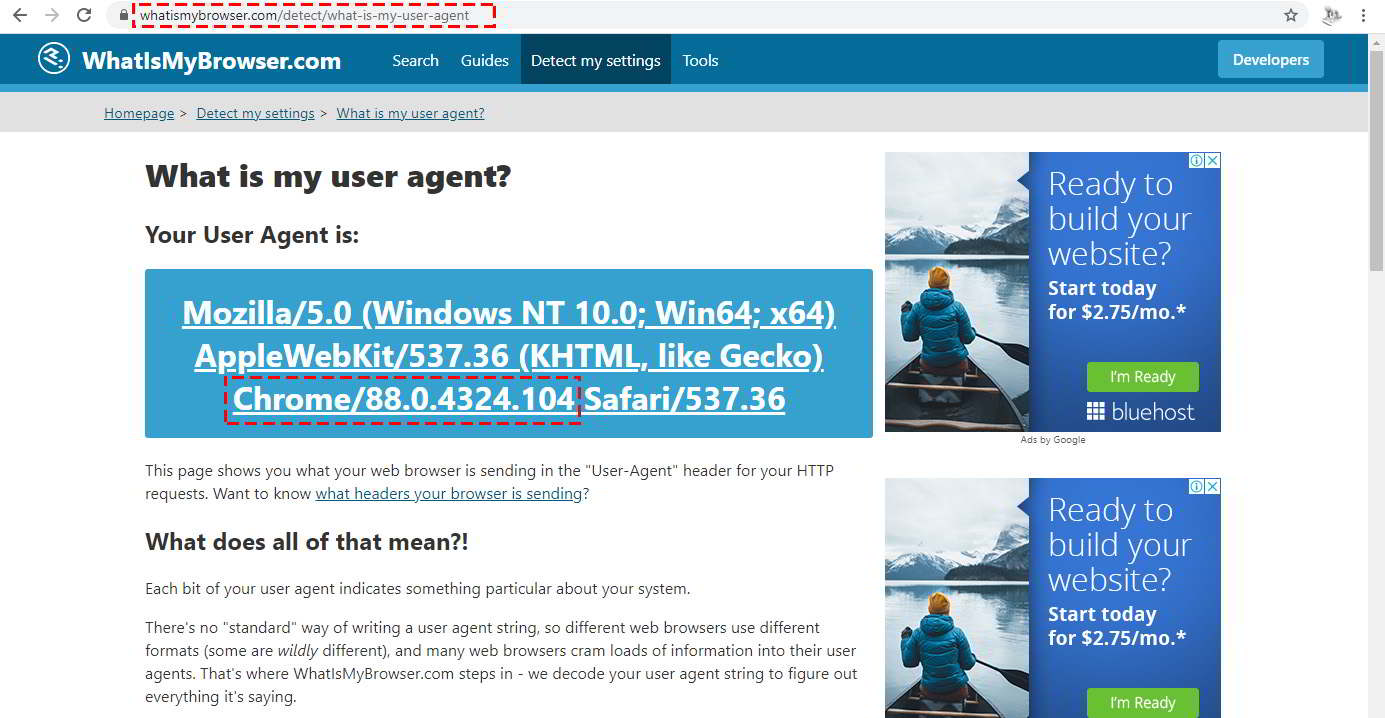
- Before download Chromedriver, go to this website to check Chrome version used in PC.
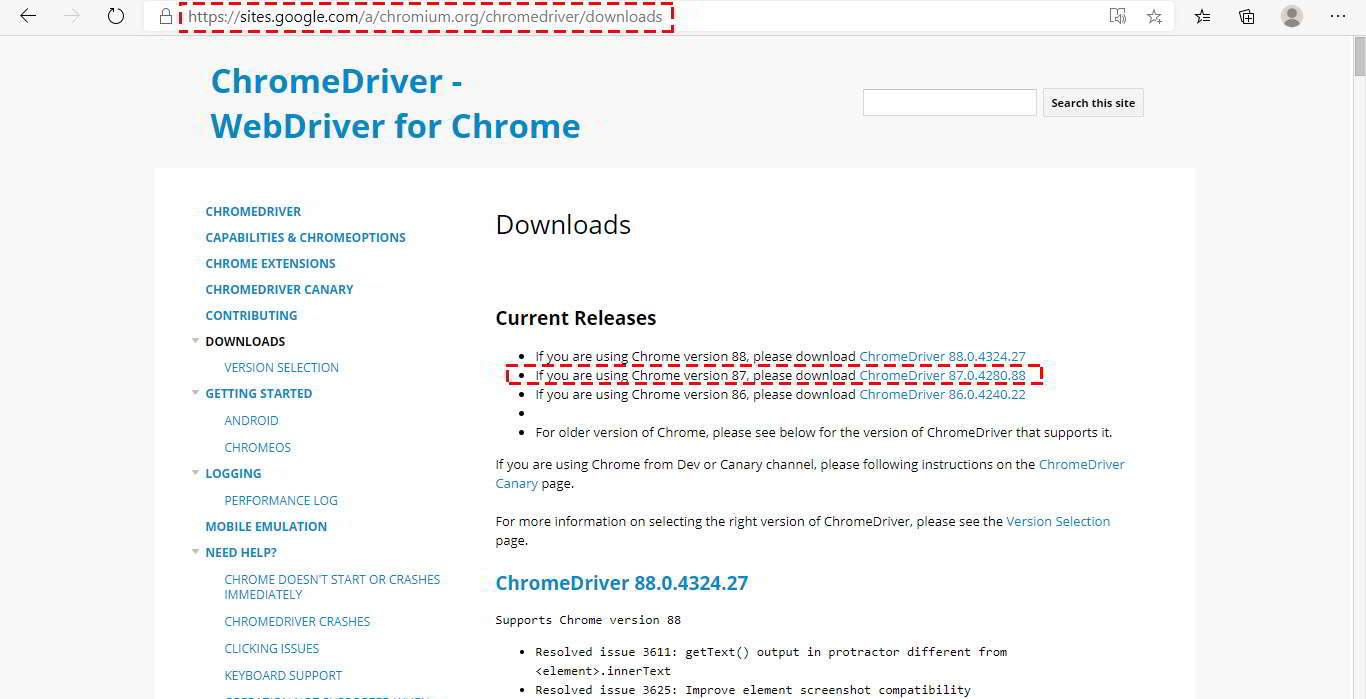
- Go to https://www.whatismybrowser.com/detect/what-is-my-user-agent to check Google Chrome version used in the PC. In my case, I am using Chrome 87, so I need to download Chromedriver 87 version too.
- Note: You can also go to "About" section of your Google Chrome to check which Chome version you are using. But we going to use the user agent string from this website.
- Go to https://chromedriver.chromium.org/downloads or https://sites.google.com/a/chromium.org/chromedriver/downloads to download the required Chromedriver.
Copy the chromedriver.exe file from download folder to "C:\xampp\htdocs\phpwebdriver\webdriver" folder, together with selenium standalone server above.
That's it! Now we have complete setup of Selenium and php-webdriver. This will enable us to scrape infinite scroll webpage as well as auto posting to social media websites.
Before we do any coding, we need to do some settings to avoid Selenium being detected as bot. My next article will discuss that.
Next : How to avoid Selenium webdriver from being detected as bot or web spider - PHP 8 Legs

