
Before we start to use php-webdrive and Selenium for web scraping and social media auto posting, we need to do some settings in code or file modifications to avoid our script from being detected as web bot or spider. I have listed some ways to hide our automation using Selenium. The methods can be used for any programming languages as well. Please note that this is not a complete list and from time to time web servers companies can find new methods to detect and block our Selenium automation. Anyway, we just have to factor in all known methods in our scripts to reduce chances of detection.
1. Remove browser control flag
2. Remove signature in javascript
3. Set User-Agent
4. Avoid using headless browser
5. Use maximum resolution
6. Follow page flow
7. Use proxy or VPN
8. Insert random delay
9. Use cookies to login
Previous article : How to install php-webdriver + Selenium for screen scrapping and auto-post
1. Remove browser control flag
If you run Selenium with default settings, you will see a line of notification "Chrome is being controlled by automated test software" at the top of Chrome browser. I am not sure can web server see this notification or detect the flag that turn this on. But since it is there in front of screen, we can turn the flag off.
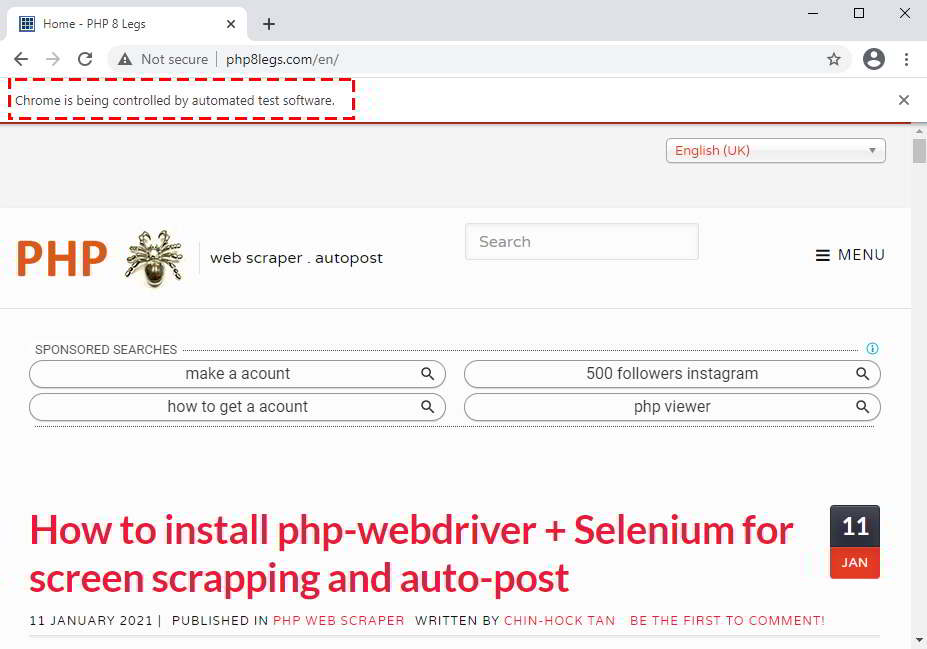
In php-webdriver, use setExperimentalOption to disable automation flag in ChromeOptions object. You will not see the notification again after this.
$ops = new ChromeOptions();
$ops->setExperimentalOption("excludeSwitches", array("enable-automation"));
$capabilities = DesiredCapabilities::chrome();
$capabilities->setCapability( ChromeOptions::CAPABILITY, $ops );
$driver = RemoteWebDriver::create( host, $capabilities );
2. Remove signature in javascript
Inside chromedrive.exe (same for geckodrive (firefox) and edgedriver (edge)) there is a javascript signature that used by bot detection software such as FingerprintJS, Imperva or even Google's Captcha. I use Agent Ransack to search for "cdc_" signature in chromedrive.exe binary file.
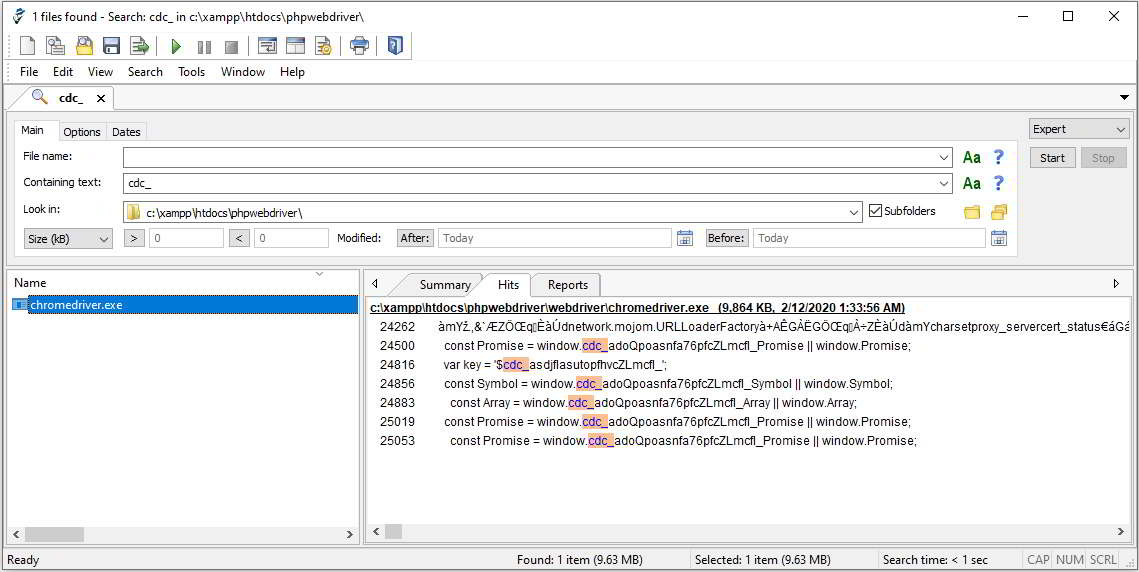
The signature is "$cdc_asdjflasutopfhvcZLmcfl_". What we can do is change "cdc" to string of same length. For example, I change "cdc" to "tch". You can change to anything like "abc", "xyz" etc.
Since this is a binary file, we can not edit that signature with normal text editor. I am using "vim" for this purpose.
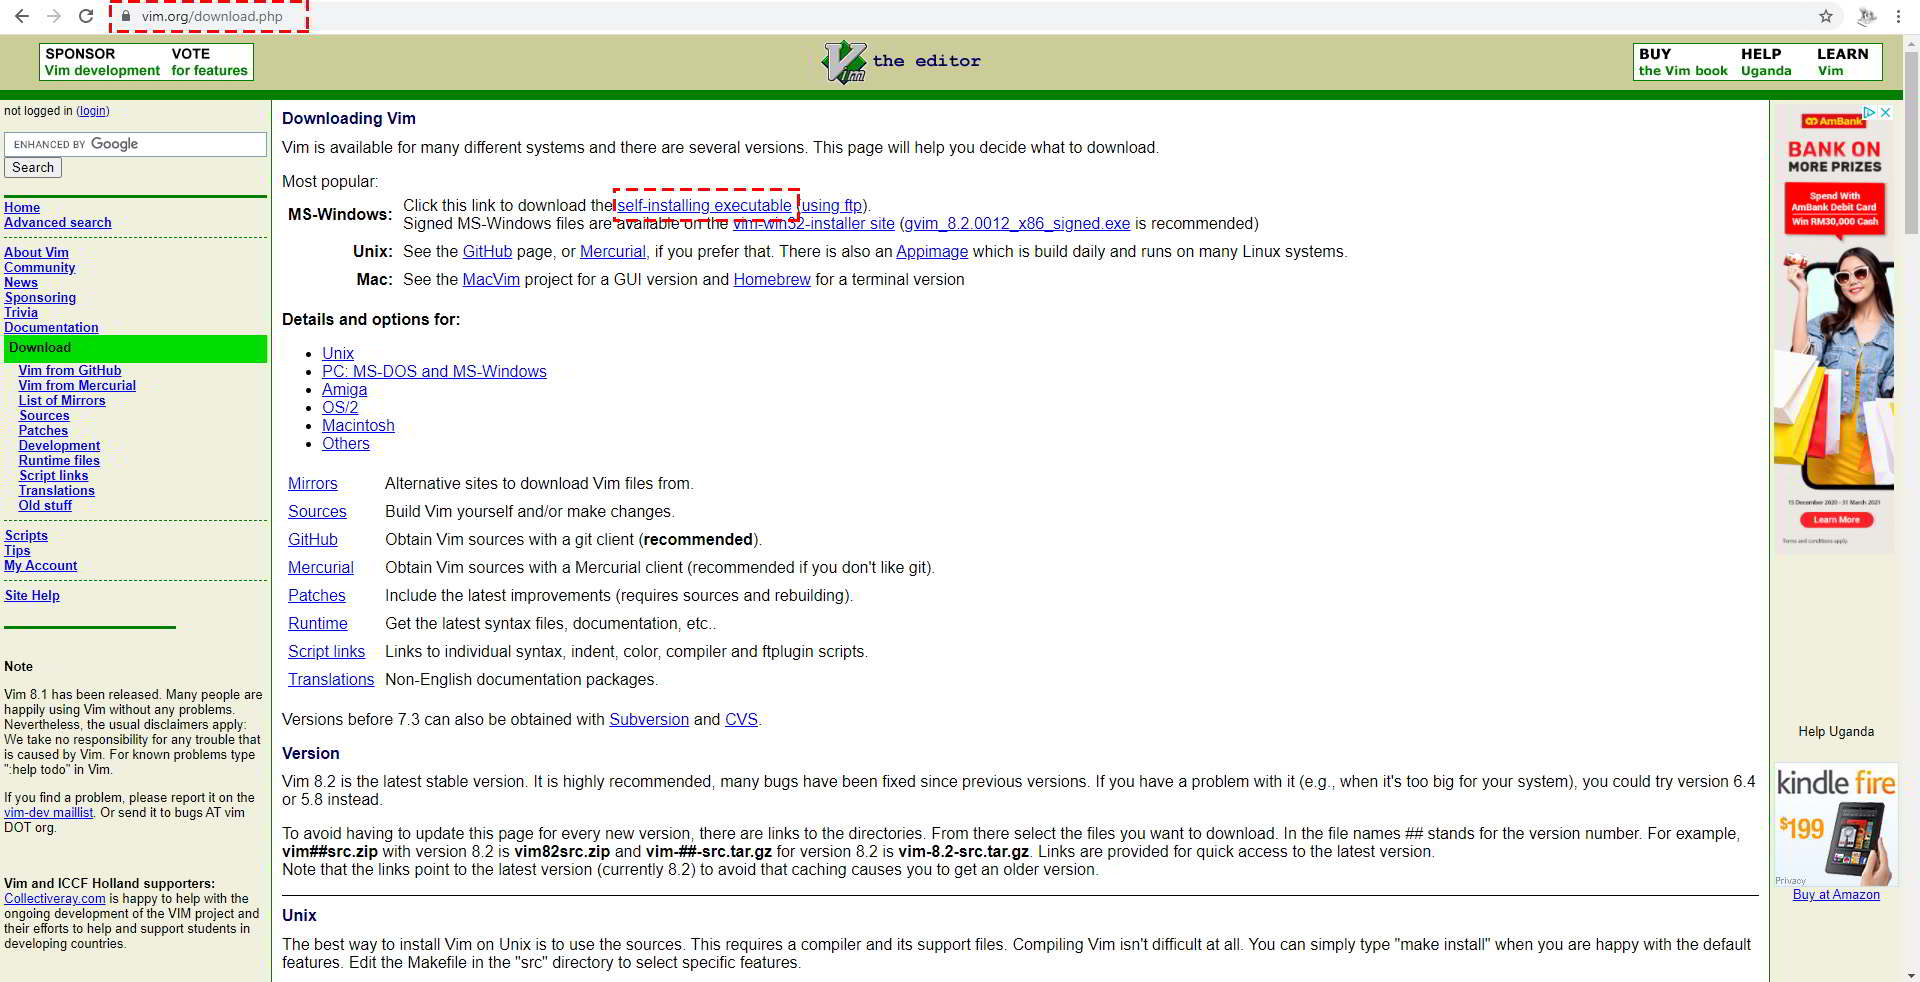
Go to https://www.vim.org/download.php and download self-installing executable file.
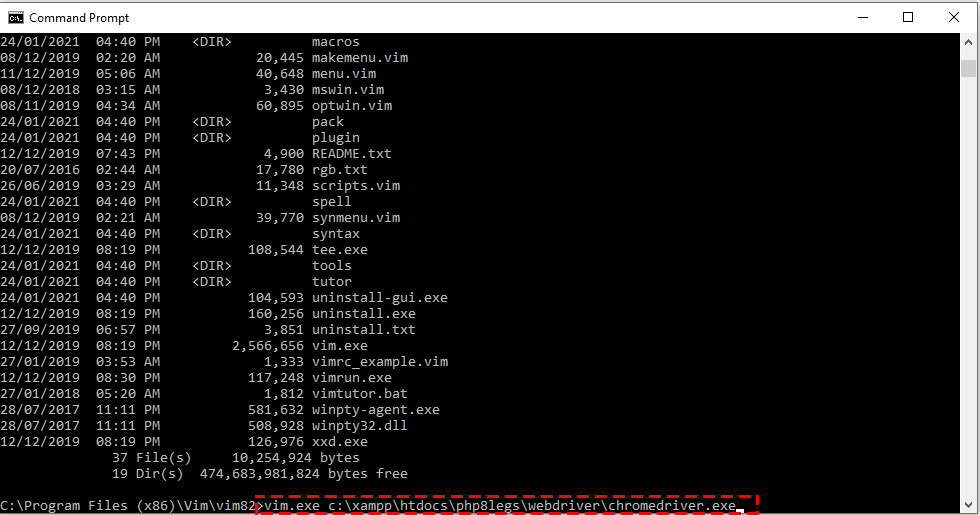
After installation, go to C:\Program Files (x86)\Vim\vim82> (because the installation not set env path automatically, but you can do it yourself if you want).
Run command "vim.exe <path to>\chromecriver.exe
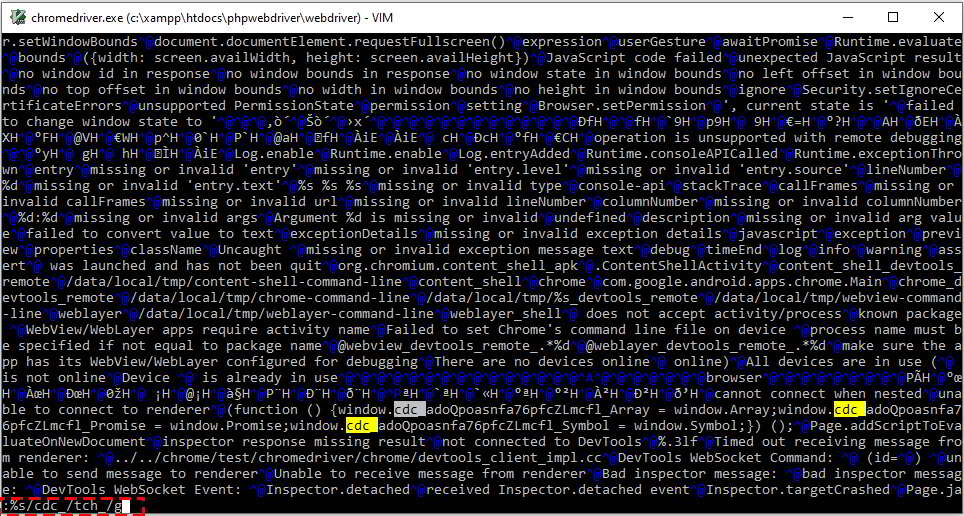
The binary file displayed in vim looks like this. Type ":%s/cdc_/tch_/g" to make a global change of string "cdc_" to "tch_". Enter to execute the command.
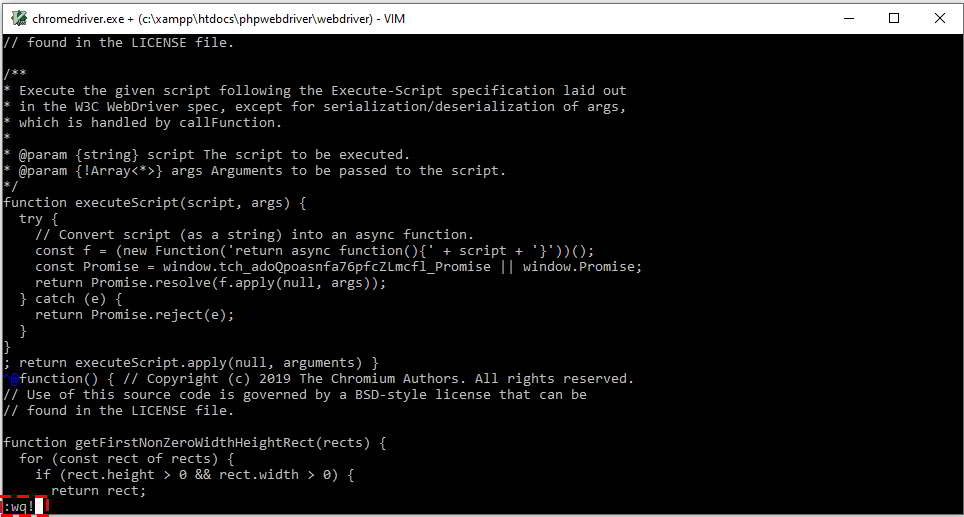
Then to exit vim type ":wq!". This will save the changes under the same file name - chromedrive.exe in this case.
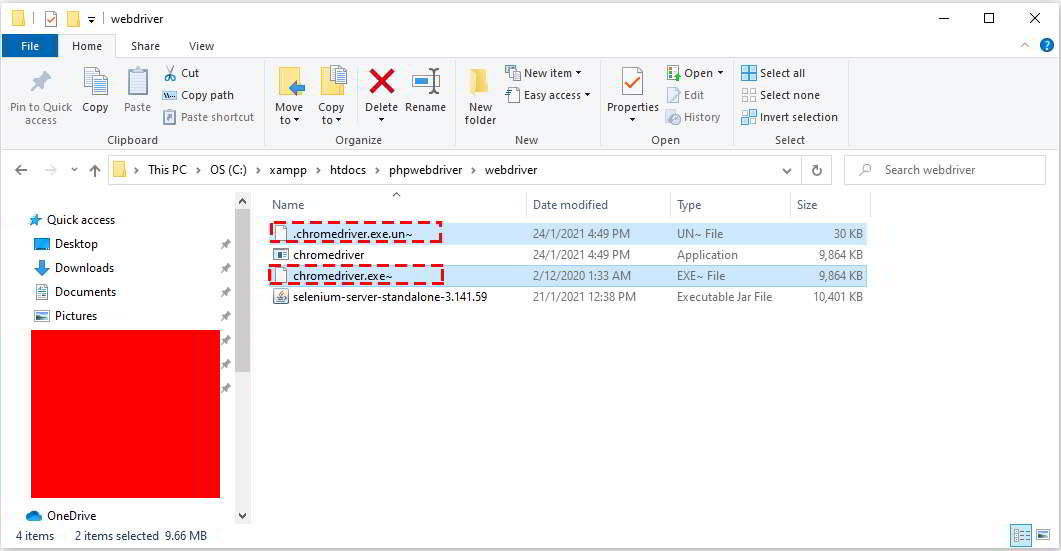
There might be some intermediate files (with ~ at end of file name) in the same webdriver directory. Just delete it.
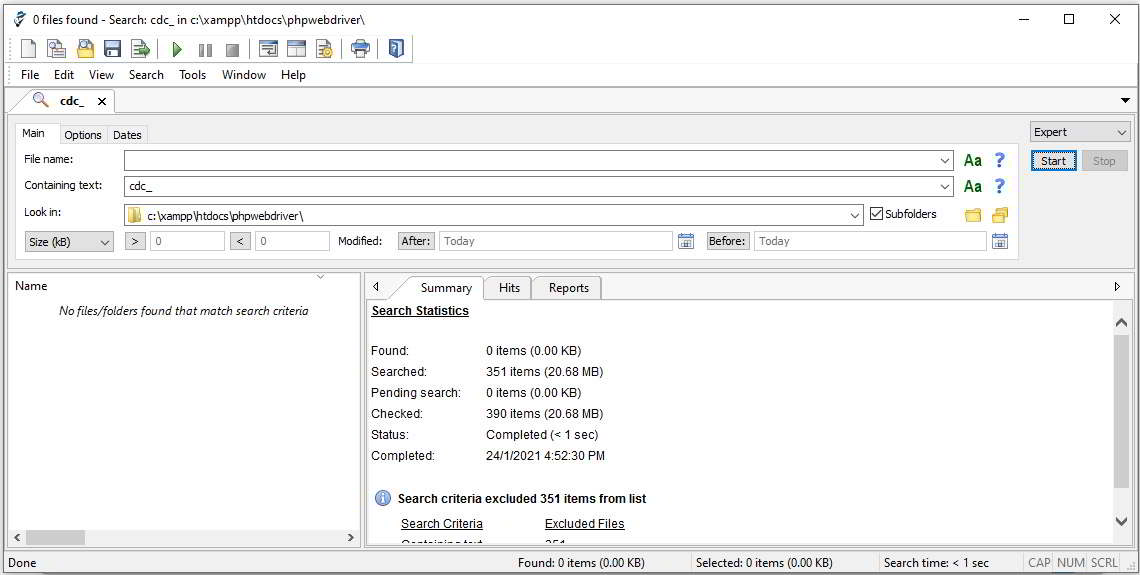
Now if we do the same search, it is gone. You can also verify by searching the new string that you changed. So now the signature has changed!
3. Set User-Agent
Social medias most likely keep track of our internet IP address and user-agent when we use browser to create account in social media or updating new post. So it is good to use the same user-agent during Selenium automation.
From the browser that we use for social media activates, go to https://www.whatismybrowser.com/detect/what-is-my-user-agent.
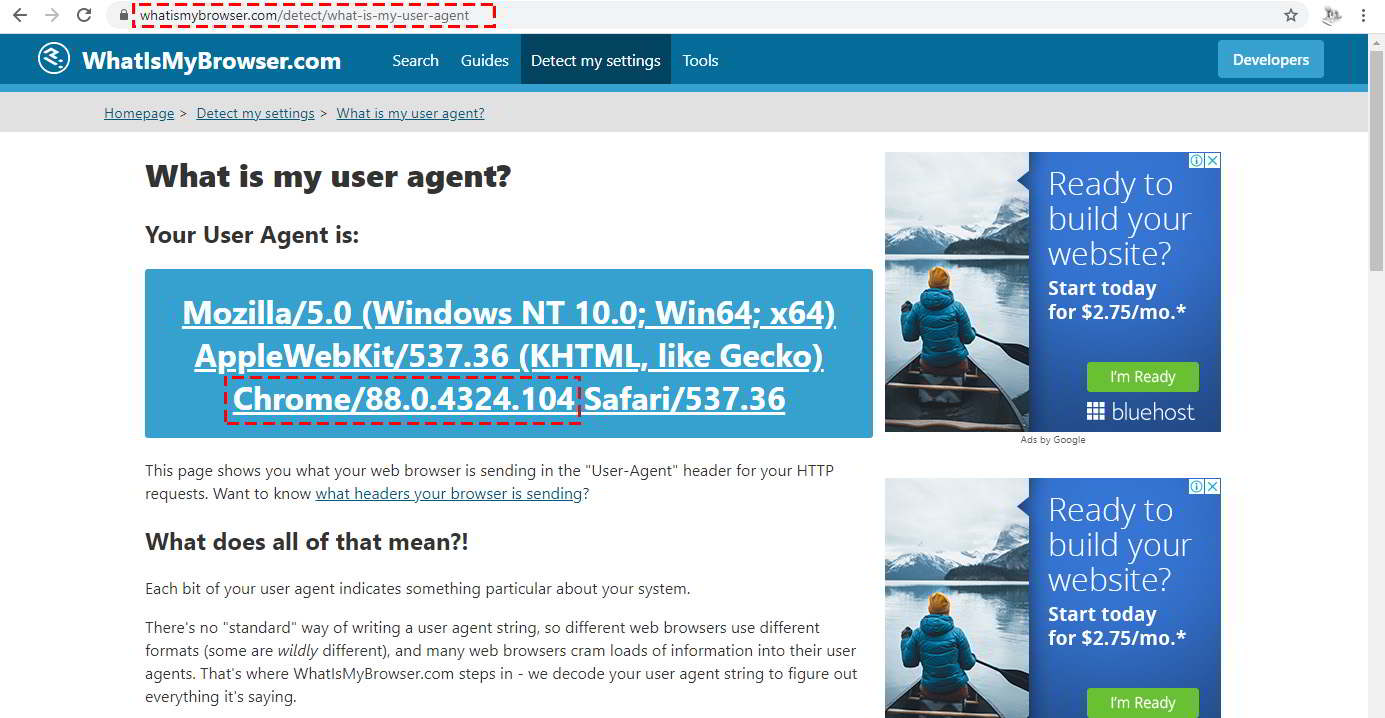
Cut and past the user-agent string and set in Selenium. Example:
$chrome_options = array( '--user-agent=Mozilla/5.0 (Windows NT 10.0; Win64; x64) AppleWebKit/537.36 (KHTML, like Gecko) Chrome/87.0.4324.104 Safari/537.36' );
$ops = new ChromeOptions();
$ops->addArguments( chrome_options );
$capabilities = DesiredCapabilities::chrome();
$capabilities->setCapability( ChromeOptions::CAPABILITY, $ops );
$driver = RemoteWebDriver::create( host, $capabilities );
4. Avoid using headless browser
Chrome browser introduced the ability to run in headless mode, that is the ability to run Chrome without creating visible browser window and other benefits such as greater testing reach, improve speed and test performance and multitasking. However, in real world, we perform social media activities through web browser. So it is good to leave the browser window remain opened during autoposting.
5. Use maximum resolution
Since we want to leave the browser window opened, we can set it to a reasonable size. To check your browser window size, go to http://howbigismybrowser.com/. 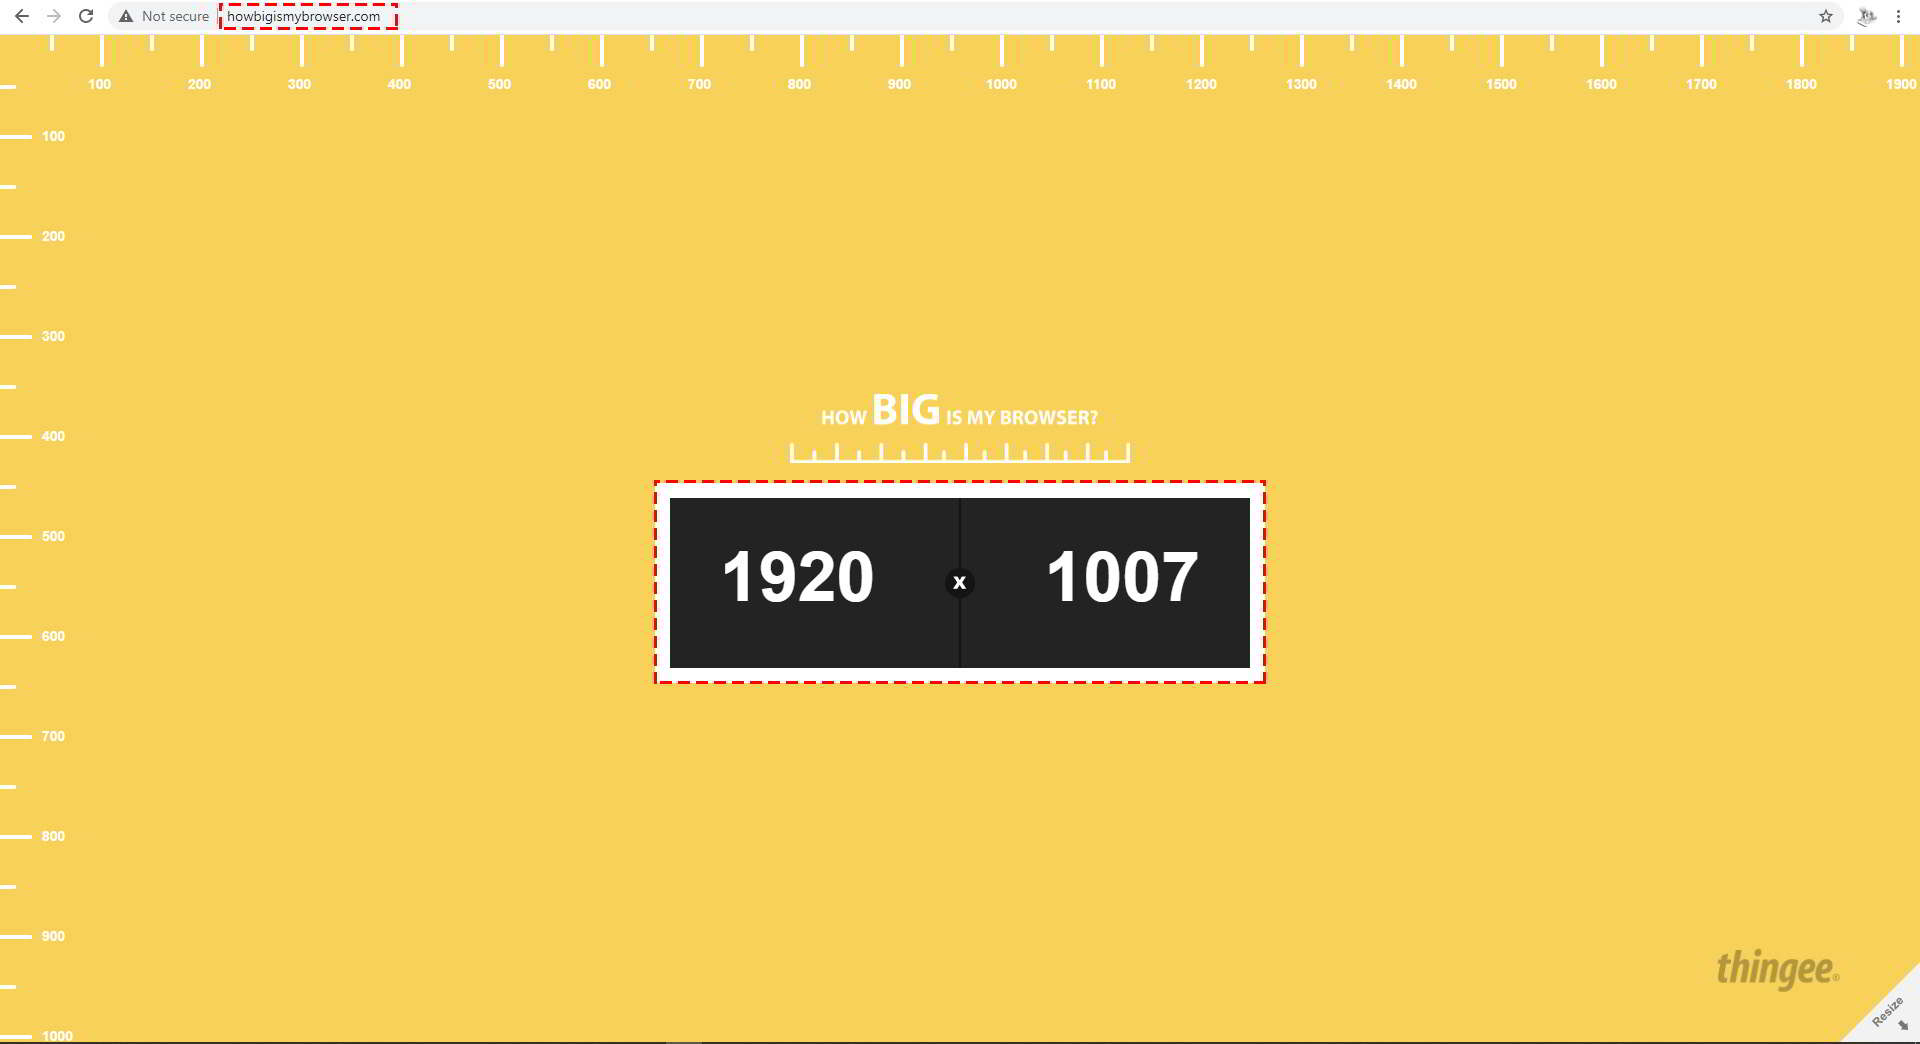
You can set to maximum screen size or to the nearest number of pixel in Selenium.
$chrome_options = array( '--start-maximized')  // set to max screen size
$chrome_options = array( 'window-size=1400,900')  // set to 1400x900
6. Follow page flow
Unlike scraping using cURL, it is better to follow the page flow when using webdriver. For example, if your can only go to page C after browsing page A, then B, don't direct go to page C. Try to imitate human user browsing actions.
7. Use proxy or VPN
Never use your own IP address for scraping or auto posting. Website like Amazon will block your IP address if the server detect unusual activities. Always use VPN or proxy. Even that, do not use the same VPN or proxy to continuously scraping the same website. Always change to new VPN address or proxy to avoid detection.
8. Insert random delay
Always insert random delay between two actions. For example, after login, insert random delay of 5 to 10 seconds before go to next page. So server will see different delay time from one action to another for every cycles.
sleep( rand ( 5, 10 ) );
9. Use cookies to login
This is important for social media posting. Store the cookies file after login with username/password for the first time. Then use cookies for subsequence logins. Login with username/password and without cookies too frequently in a day might get your account blocked.
In the next article, I will write about how to use php-webdriver + Selenium to auto post to Pinterest.

